Needle Felting Tutorial on Happy Strawberries
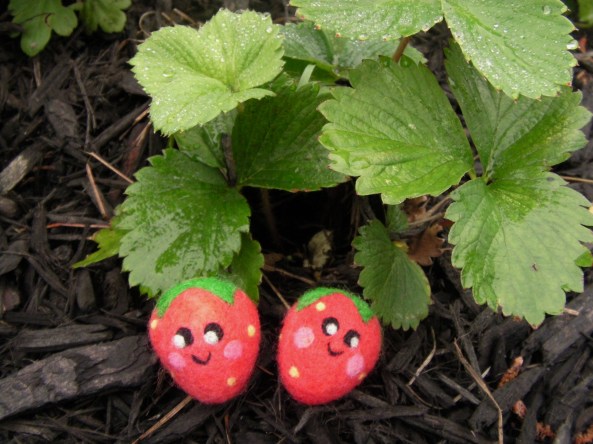
Today I’m sharing my adorable needle felted strawberries and you can make your own by following this tutorial. Here they are amidst my “real strawberry plants”. Now let’s get on to the tutorial!
You will needle wool roving or batting in the following colors: red, green, brown, yellow, white, black and pink. Obviously if you want the berry minus the face or seeds, you will just need red and green. Grab your
felting needles and a safe foam/brush surface and let’s go.
felting needles and a safe foam/brush surface and let’s go.
First grab a handful of red roving. Shape it with your hands into a loose ball. Now lightly shape it into a ball with your largest size felting needle; I used a size 36. Remember to do all felting on the foam pad surface. Simply push the needle in the wool over and over again. Turn the wool as you go to create a ball. Do not make the ball dense, just a very light felting at this stage.
Next squeeze the bottom of it with your fingers to create a tip. Now needle felt one side of this tip flat. Flip the “berry” and needle felt the other side of the tip flat.
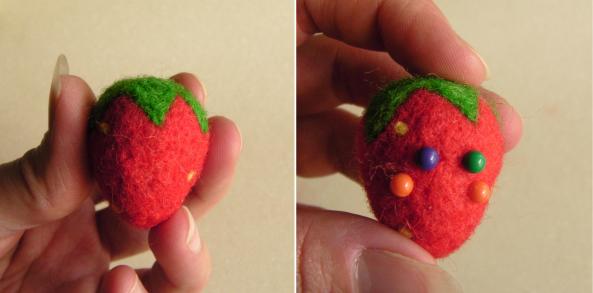
It should now look like this. It is getting a little bit more strawberry shaped.
You want a rounded tip, not a flat tip. Imagine the 2 sides of the tip you just felted and felt one of the areas between these two sides. Flip it and felt the remaining side of the tip. Felting four different sides of the tip like this should result in a rounded tip.
The tip is indented at this time; so go ahead and needle felt the top of the strawberry until the top bit is as felted as the tip is. Be sure to maintain the rounded appearance of the top as you felt!
Now grab a smaller felting needle(a larger number needle) and needle felt the entire strawberry trying to maintain the basic shape as you go. This should make the berry more dense. Check the density of your strawberry after this step. Make sure it is firm and that if you squeeze it, it maintains its basic shape. If this is confusing check out my tutorial on checking for density.
Up next, is the green strawberry leaves. Create a paper star shaped template that will fit right over the top of the strawberry. Pin it directly to the top of the strawberry through the center of the star. Next pin each star tip down. Make sure the straight pins are pointing straight down rather than towards the center of the berry. Grab a felting pen now, if you have one, it will be useful in the next step!
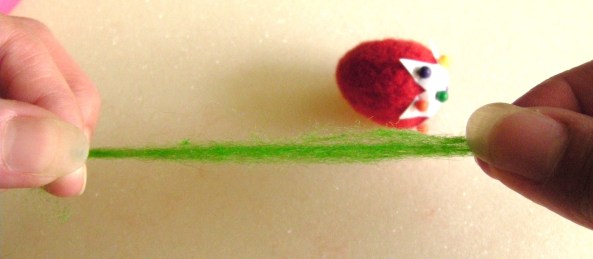
Grab a small piece of green wool and stretch it into a thin line by grabbing one side with each hand and slowly pulling.
Now follow along the edge of the star template and needle felt this thin green piece along its entire edge. If you run out of wool before you have traced the template, simply pull another thin piece and continue. Needle felt slowly and carefully for this part being cautious of the straight pins.
Now we have an outline of the leaves. Just fill this outline in with green wool as if you were coloring.
Time to add the seeds. Grab a very small piece of yellow, roll it into a ball between your fingers, and place it on your felting needle. Place your felting needle where you would like your seeds to be and go in and out in the same spot to create a tiny felted seed. Add as many as you feel comfortable with. If you would like a face, leave part of one side seedless!
Next, add a small brown circle to the center of the leaf star to represent the area the strawberry was plucked from the plant.
Now it is time to needle felt the adorable face onto the berry. If you need help with this step, simply follow my tutorial on creating faces. After adding the face, grab a smaller felting needle(a larger number) and needle felt the entirety of the berry. This will smooth out any indentations and pull those loose tufts to the surface.
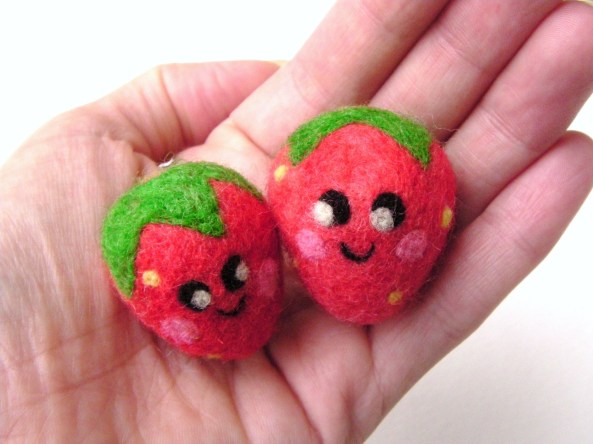
Now the felted strawberry is complete! One strawberry will take around 1 to 1.5 hours to create. The one that I used for this tutorial is on the left. I couldn’t just make one strawberry; they are simply so cute and sweet that I needed at least a pair of them.
Hopefully you were able to easily follow this tutorial; if you have any questions, feel free to comment. Also, check out my other needle felting tutorials if you haven’t gotten your fill of cuteness yet!


Комментариев нет:
Отправить комментарий