Felt Craft for Valentine’s Day
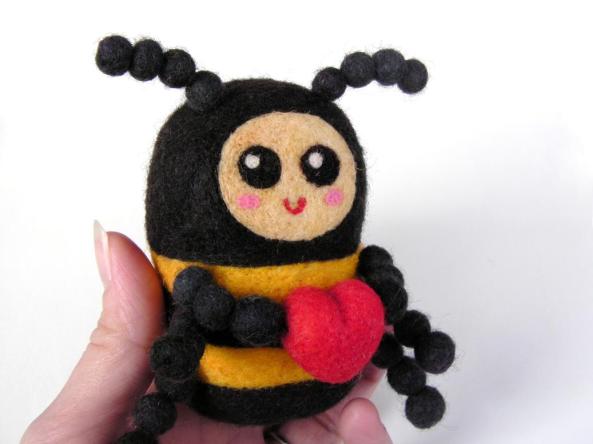
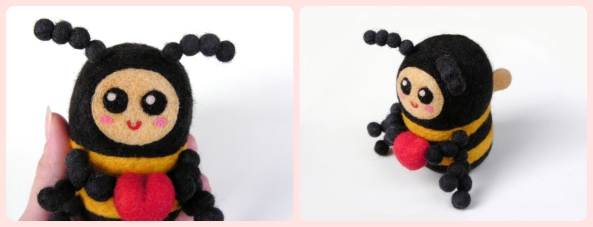
This little felt Valentine’s bee is so cute. His body, legs, and antennae were all wet felted and the details were needle felted. A thorough tutorial on this little bee would be quite extensive; so I prepared a shortened tutorial. If you have any questions after perusing this simplified tutorial, please feel free to ask! In total, the bee takes about 6 hours to complete.
There are previous tutorials that walk you through many pieces of this bee. They are as follows:
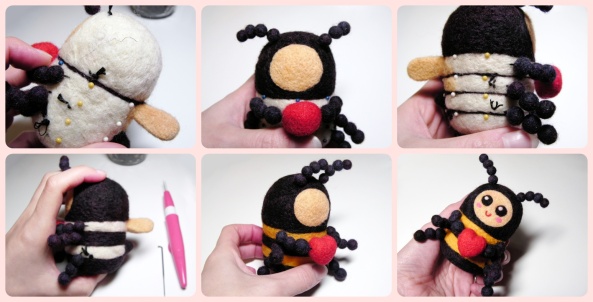
First take the wet felted ball and slightly needle felt it to create an oblong ball. Then needle felt one end flat. In the first image, take note of the paper template for the face and the straight pins that mark the stripes of the bumblebee. I prefer to mark these important parts of the bumblebee before attaching any of the small felted pieces. “Measure twice, felt once!”
The felted beads are strung together as follows:
4 tiny beads are strung together for each antennae. 3 small beads are strung together for the bottom four legs. The second picture demonstrates how to thread the beads so that the two ends remain on one side of the beaded string. Thread the antennae and bottom four legs in this fashion.
3 small beads, one heart, and 3 small beads are strung together for the top legs/hands.The third picture demonstrates how to thread the top legs and heart.

After the beads are strung, it is time to attach them to the bee. The antennae are attached right above the paper template. The legs are attached in the middle of each stripe(between the rows of straight pins).

Now it’s time to add the stinger and wings. Spread out the unfelted end of the stinger, place it on the body, and needle felt into place. Be sure to remove any straight pins that are in the way. Now do the same for the wings.

Needle felt a bit of beige wool around the very edge of the paper template. This will create an outline of the face. Then needle felt more beige wool on the inside of this outline.

Adding the stripes to the bumblebee is very simple. Simply needle felt a black line along the top of each row of straight pins. Then needle felt the head with black wool. Add more black wool to the second and fourth stripe and needle felt into place. Then, add yellow wool to the first and third stripe and needle felt it. At this point, the whole bumble bee is “colored” in.
Now size down needles(larger number) and needle felt the entire body once more; this will give a more finished look. Be sure to tack down the antennae and legs with a super strength felting needle until they are positioned as desired(a size 32 works really well for this). The final step is needle felting a sweet little face.


Комментариев нет:
Отправить комментарий