How to Needle Felt Miniature Animal Paws
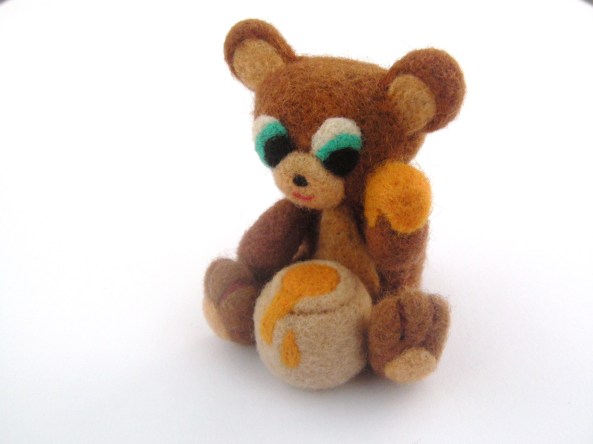
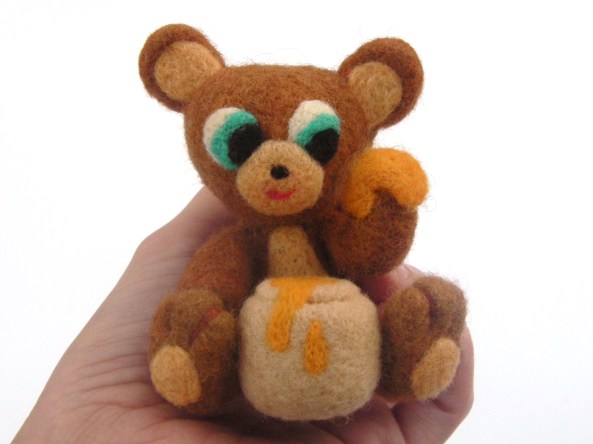
I recently completed a request for a needle felted bear with a bit of honey on its paw. This tutorial will focus on needle felting miniature paws. My honey bear will be used to demonstrate this technique; however, these paws would work well with a number of animals.
You will need:
wool roving or batting
felting needles
foam/brush needle felting surface
embroidery thread
embroidery/sewing needle
felting needles
foam/brush needle felting surface
embroidery thread
embroidery/sewing needle
As always please be extremely careful with the felting needles; they are very sharp and to ensure against breakage please work on an appropriate felting surface!
Now let’s get on with the tutorial.
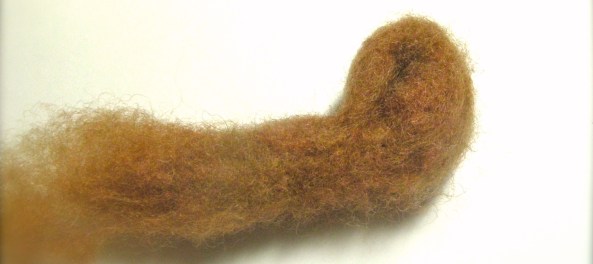
First grab out a small tuft of wool in the main color choosen for your paw. Lay it out on your felting surface and roll it up like a miniature sleeping bag.
Next lightly needle felt the roll of wool leaving the ends unfelted. Carefully roll it around as you felt to ensure that the “roll of wool” remains smooth and round rather than flat!
Take one side of this “roll” and pull it almost to the center. Then needle felt it into place. This will create the small paw on the leg.
Next stand the felted leg upon the paw and felt the paw flat. Then turn it on its side and felt the sides of the paw to give them dimension.
The basic shape is now formed. Simply continue sculpting and sizing down needles until the desired density and shape is achieved. And don’t forget to make a second one!
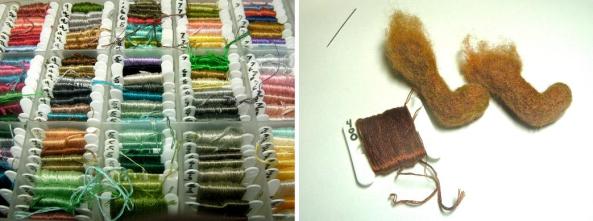
Grab some embroidery thread in the color of your choice. I decided on matching thread, but for some animals a contrasting thread is preferred.
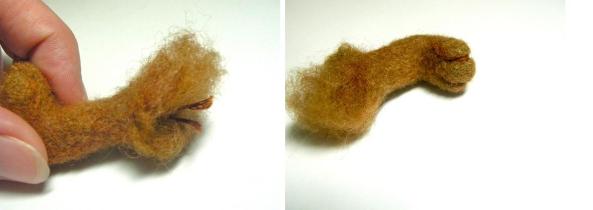
Thread the needle and insert it in the unfinished side of the leg and out through the bottom of the paw. Look carefully at the pictures, you will see this is not in the center of the paw, but off to one side of the paw. Next loop it around to the top of the paw and pull tightly on each end of the thread.
Next insert the needle near the top of the embroidery line just created and pull the thread under the surface of the felt to the opposite side of the paw. Now loop the thread around on this side and pull tightly once more. Reinsert the needle close to the newly created embroidered line and pull it back out of the unfinished part of the leg.
The beginning part and ending part of the thread are both now resting at the bushy unfinished side of the leg. These should now be tied together and trimmed.
For the final touch I needle felted a semi-circular pad onto the paw in a contrasting color. This part is optional; make this decision based upon the animal that YOUR paw belongs to!
I use this basic design for many legs and paws on many different kinds of animals. Sometimes the “paw” is larger or smaller or barely even there. Small adjustments can create a whole new feel to your animal. If I was not clear enough or if you have any additional questions feel free to contact me. Have fun and I hope that I helped a little with your felting project!






Комментариев нет:
Отправить комментарий