Felt Blooms – Guidelines
I really LOVE making flowers, especially out of felt. As I watch the material slowly blossom from between my own fingertips, my heart smiles a little bit. Honestly, there are MILLIONS (ok fine, more like 531,000) of tutorials for felt flowers out there. I think they are so popular because they can be sooo quick and easy. But personally, I think a blossom that takes a little more time, planning, and effort really makes a statement.
This post isn’t so much a step by step tutorial, but more the guidelines I follow when I make a felt flower. I pretty much make them in four stages: petal cutting, petal shaping, flower assembly, and finishing touches.
Stage 1: Cut the Petals
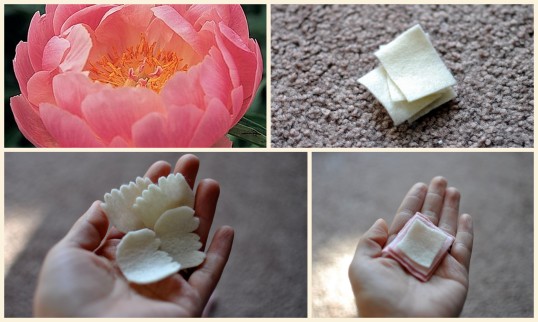
First, I pick a flower and do some “research”, which is my fancy word for doing a google image search for it. I’m basically looking for 2 things – the shape of the petals, and the fullness/density of the bloom. After this, I cut out seemingly millions of little squares in the colors I want (really, you probably only need 20 ish, depending on the flower). When I’m using different colors for a gradient effect, I try to size the petals differently to get larger as they go out. Finally, I meticulously cut each petal into the shape that I want. For this peony, I used about 20 petals, the smallest being about 4 cm wide, the largest being 6 cm wide.
STAGE 2: Shape the Petals
Now, it’s time to make mounds of flat petals more lifelike! I take my hot glue gun, do a light line along the bottom edge (can you see it in the pic? ), and basically form the base of the petal into a “cup” using my thumb! REPEAT X 20
STAGE 3: Assemble the Flower
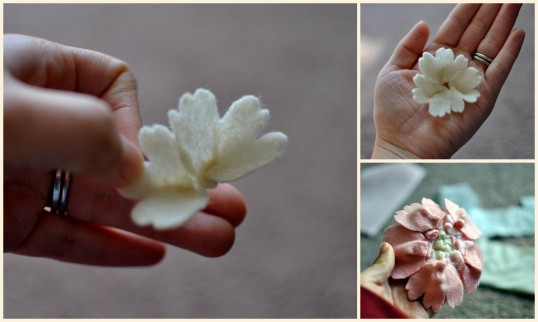
Now is the fun part I take the smallest petals and try to figure out the best formation for the smallest, inner ring of petals. I’ll try 2, 3, 4, or 5 petals to see which looks best. After I figure it out, I glue the inner ring together by the edges. I then add petals one by one, layering out, gluing by the bottom of each petal (not the edges). For this peony, I ended up having about five layers of petals, going from cream, to very light pink, to a dusty light pink.
STAGE FOUR: Apply Finishing Touches
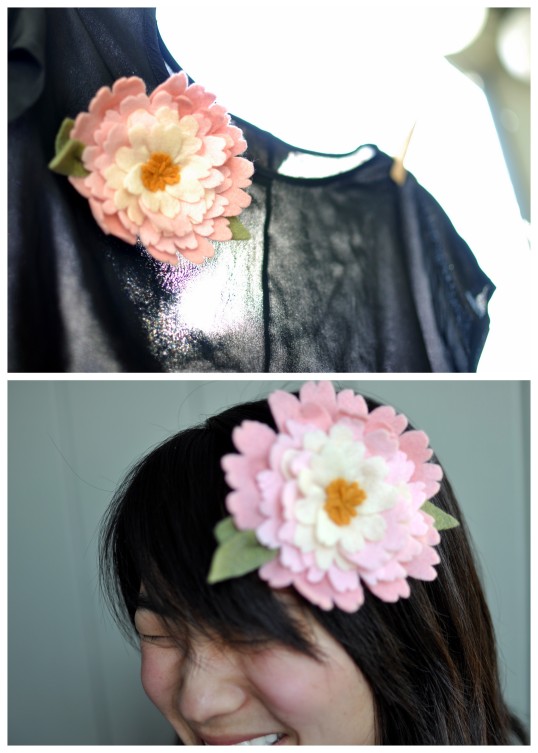
I like to add little embellishments, like leaves, or bits of lace, tulle, or netting. Different colors, textures, and some shine really ups the visual interest. I kept the embellishments light on this baby though, just sticking with a couple of leaves
By the end, there are a couple unsightly spots, namely the center of the flower, and the back of the flower. It’s easy to fill the center! I usually just glue or stitch in some pearls, beads, or buttons. Alternatively, you can make this furry felt roll up thing by taking a thin strip of felt, cutting notches (?) down its length, and then rollllling it up, using hot glue to secure . For the back, I figure out what I want this flower to be (pin? headband? clip? belt?) and buy the necessary hardware (Michael’s, Joann’s, Walmart!). I cut a felt circle, just big enough to hide all the ugliness, and cut slits in it to slide a part of the hardware behind it. Can you see in the above pic how the top of the hair clip is covered by the felt, and actually directly glued onto the bloom? I then thoroughly hot glue the whole thing down!
And that’s it! Flower accomplished!
Have fun!


Комментариев нет:
Отправить комментарий